Disclaimer: Life Cover Guide. This site provides family & home content for informational purposes only.
Cleaning black mold in the shower can be a daunting task, but it is something every homeowner may face at some point. The combination of warm, damp conditions in bathrooms makes them a perfect environment for mold growth, especially in your shower area. Not only does black mold in the shower create an unpleasant appearance, but it can also lead to health issues, such as respiratory problems, allergic reactions, and skin irritation.
If left untreated, black mold can cause more severe problems and even damage the surfaces in your shower. In this guide, we’ll walk you through the best methods for removing black mold in the shower and how to prevent it from returning. With the right tools, cleaning solutions, and maintenance, you can eliminate mold and keep your bathroom fresh and safe.
Why Does Mold Grow in the Shower?
Before diving into the cleaning process, it’s important to understand why mold thrives in the shower and how you can prevent its growth in the future.
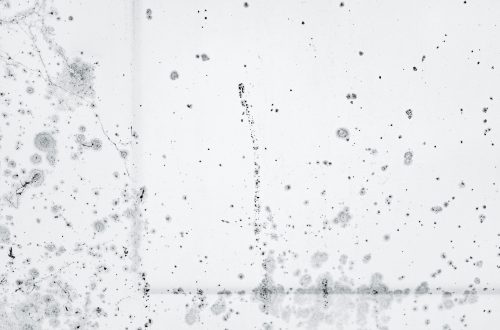
Mold needs a few key elements to grow: moisture, organic material (like soap scum, hair, and body oils), and a lack of ventilation. Showers provide an ideal environment because they’re constantly exposed to water, creating excess moisture. When hot water evaporates and turns into steam, it increases humidity levels in the bathroom. Without proper ventilation, this moisture settles on the walls, tiles, grout, and other surfaces, giving mold the perfect environment to grow.
In particular, black mold (Stachybotrys chartarum) is commonly found in showers, often appearing as dark green or black patches. Black mold thrives on damp, organic surfaces such as bathroom tiles, grout, and caulking. Though black mold is not always toxic, it can cause health issues, especially for those with respiratory problems, asthma, or weakened immune systems.
By understanding these conditions, you’ll be better equipped to prevent mold growth in the first place and maintain a clean, mold-free shower.
How to Clean Black Mold in Shower
Removing black mold from your shower can be an easy process if you follow the right steps. Black mold thrives in damp, warm environments, making your shower a prime location for mold growth. If left untreated, black mold can cause health issues and damage your bathroom surfaces. Fortunately, by following a few simple steps, you can safely and effectively eliminate mold in your shower. Here’s a detailed, expanded guide to cleaning black mold in the shower.
Step 1: Wear Protective Gear
Before beginning any mold removal project, it’s essential to protect yourself. Mold spores are microscopic and can irritate your skin, eyes, and respiratory system. Mold can also release mycotoxins, which are toxic substances that may pose serious health risks when inhaled. Even if you’re dealing with a small area of black mold, it’s better to be safe than sorry.
Here’s a list of the protective gear you should wear to shield yourself from mold exposure:
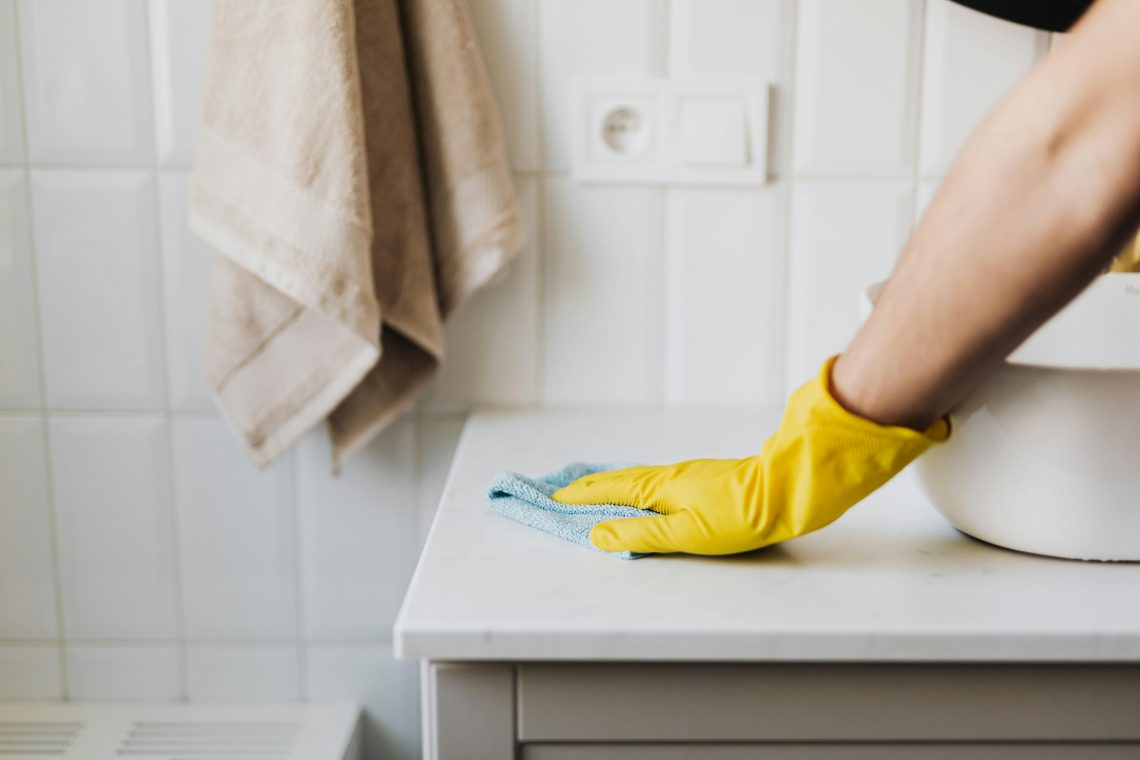
- Rubber gloves: Mold spores and harsh cleaning chemicals can irritate your hands. Wear rubber gloves to avoid direct contact with mold or cleaning solutions. Gloves will also protect your hands from cuts and scratches while scrubbing the affected areas.
- Safety goggles: Protect your eyes from mold spores, cleaning chemicals, and any debris that may fly up while scrubbing. It’s essential to wear goggles to prevent irritation or possible injury to the eyes.
- N95 mask or respirator: Mold spores are tiny and can easily be inhaled, leading to respiratory issues. An N95 mask or respirator filters out the majority of airborne particles, including mold spores. This is especially important if you’re cleaning large areas or dealing with extensive mold growth.
- Old clothes: Wear clothing you don’t mind getting dirty. Cleaning black mold can be messy, and you might accidentally get cleaning solution or mold on your clothes. Opt for old clothes that you can easily wash afterward.
- Fan or open window: Mold cleaning produces fumes, particularly when using chemicals like bleach or hydrogen peroxide. Proper ventilation helps reduce your exposure to these fumes. Keep a fan running or open a window to create airflow and reduce the concentration of cleaning chemicals in the air.
Wearing protective gear ensures that you minimize your exposure to mold and harmful chemicals while creating a safer cleaning environment for yourself.
Step 2: Choose the Right Cleaning Solution
There are several effective cleaning solutions available for removing black mold from your shower. While store-bought mold removers can work well, DIY solutions made from common household items are often just as effective and more affordable. Choosing the right cleaning solution is crucial to ensuring successful mold removal.
Here are some of the most effective mold removal solutions:
- White vinegar: White vinegar is an excellent natural cleaner that’s safe and non-toxic. It’s effective at killing up to 80% of mold species and can also help remove mildew and bacteria. Pour undiluted white vinegar into a spray bottle and apply it directly to the moldy surfaces in your shower. Let the vinegar sit for 1-2 hours to ensure it effectively kills the mold.
- Hydrogen peroxide (3%): Hydrogen peroxide is another potent mold remover. It’s effective at killing mold spores and can also lighten stains that mold leaves behind. Simply spray 3% hydrogen peroxide directly onto the moldy areas and let it sit for 10-15 minutes. After the mold has been dissolved, scrub the area to remove the residue.
- Baking soda: Baking soda is a gentle, non-toxic solution that works well for light mold growth. It’s a good option for surfaces that you want to avoid harsh chemicals on. Baking soda also helps to neutralize odors that mold might produce. Mix baking soda with water or vinegar to create a paste, and then apply it to the affected areas. Let it sit for 15 minutes before scrubbing.
- Bleach: If you’re dealing with stubborn black mold or extensive mold growth, bleach may be necessary. Bleach is highly effective at killing mold and removing stains. However, bleach should be used with caution, as it can be harsh on surfaces and create strong fumes. Mix one part bleach with 10 parts water for a safe dilution. Always use bleach in a well-ventilated area and never mix it with ammonia or vinegar, as this can create toxic fumes.
Each of these cleaning solutions has its benefits and drawbacks. Choose the one that best fits the level of mold growth you’re dealing with and the type of materials you’re cleaning. In general, white vinegar and hydrogen peroxide are safer and gentler options, while bleach is more powerful for severe mold infestations.
Step 3: Apply the Cleaning Solution

Now that you’ve selected your cleaning solution, it’s time to apply it to the moldy areas in your shower. When applying the cleaner, focus on areas that are most affected by mold growth, such as grout lines, corners, around showerheads, and along the caulk. These are areas where mold tends to accumulate because moisture can become trapped in the crevices.
- Apply liberally: Spray or pour your chosen cleaning solution directly onto the affected areas. Be generous with your application to ensure the mold is thoroughly soaked. The goal is to cover the entire moldy area and let the solution penetrate the surface.
- Let it sit: Allow the cleaning solution to sit for about 10 to 15 minutes. This allows the mold-killing properties of your solution to break down the mold and mildew. For stubborn mold or older infestations, you may want to leave the solution on for 30 minutes to an hour for maximum effectiveness.
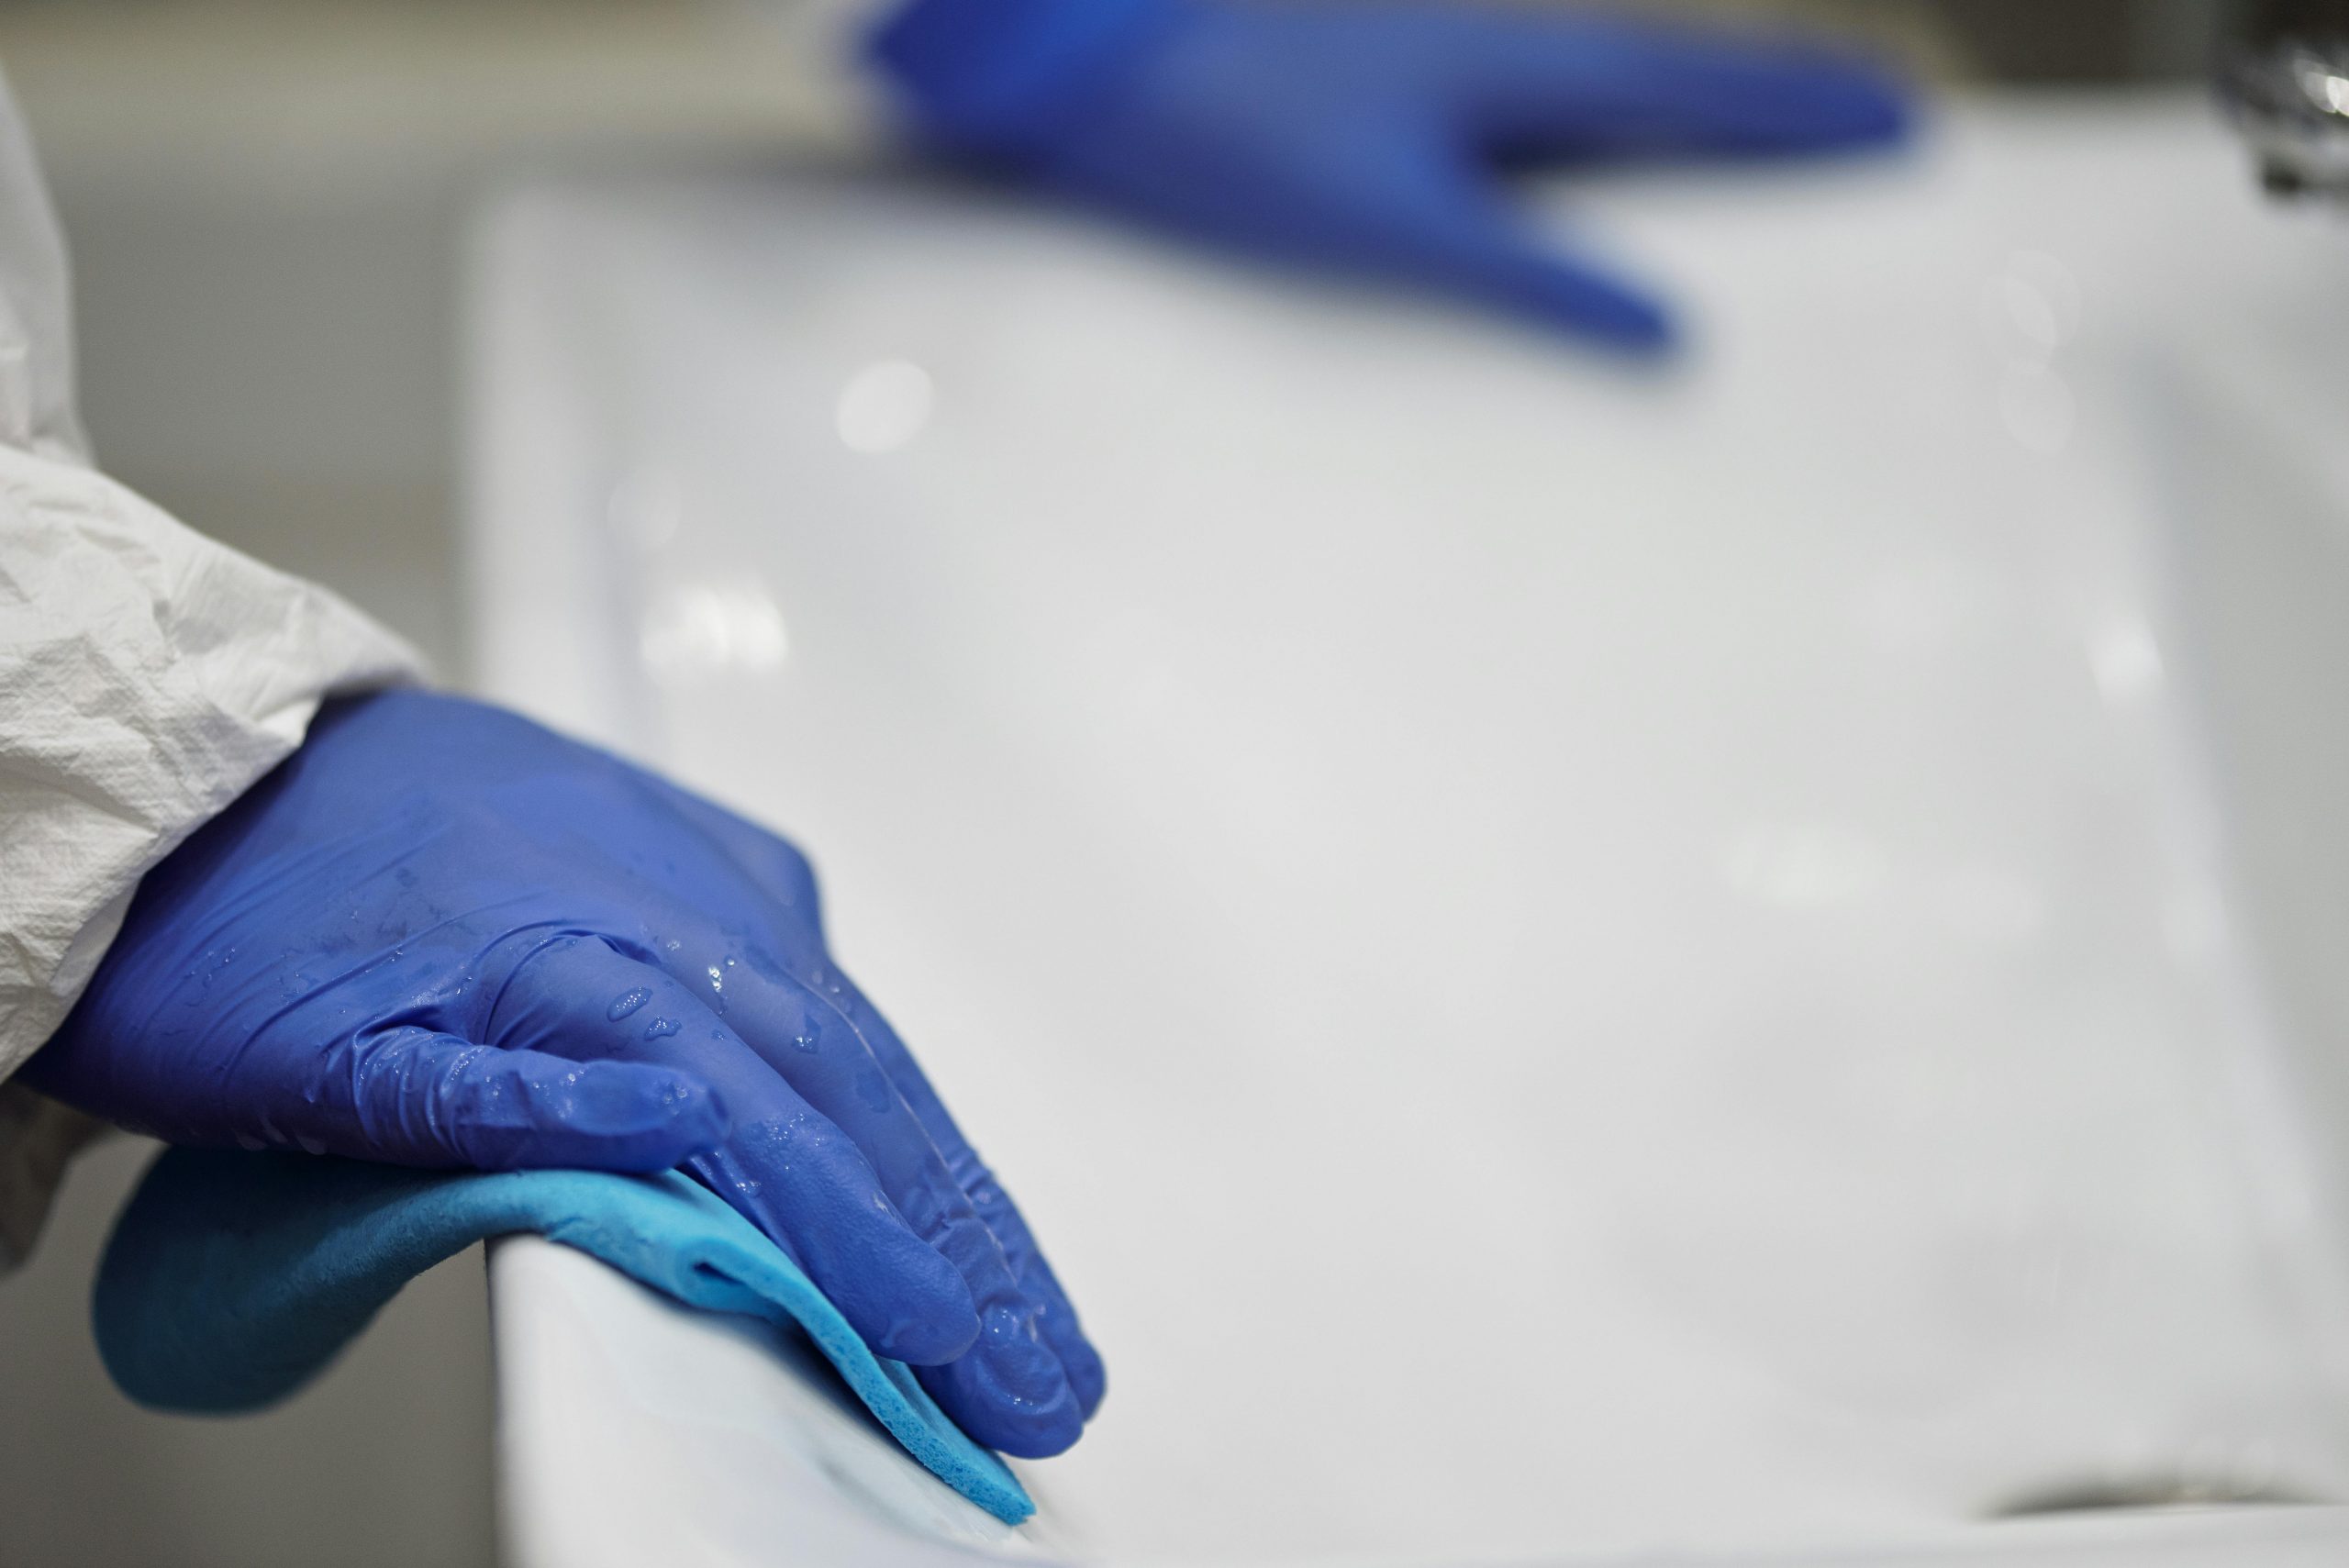
- Use a brush or sponge for larger areas: If you’re cleaning large surfaces like the shower walls, use a soft scrub brush or sponge to apply the solution evenly. For smaller or hard-to-reach areas, you may want to use a small toothbrush or a cotton swab to target mold growth in grout lines and corners.
- Check for tough spots: If you notice that some of the mold hasn’t been fully eradicated after the first application, reapply your cleaning solution and let it sit a little longer. For extreme cases, a second round of cleaning may be necessary.
Step 4: Scrub the Moldy Area
After allowing your cleaning solution to sit, it’s time to scrub the mold away. Mold spores can sometimes cling stubbornly to surfaces, so you’ll need to be thorough with your scrubbing.
- Choose the right tool: For scrubbing, use a stiff-bristled brush or an old toothbrush. These tools are effective at scraping away mold while being gentle on your tiles and grout. A sponge is useful for smooth surfaces but may not be as effective for scrubbing tough mold patches.
- Focus on grout lines and corners: Mold often grows in grout lines, corners, and caulk, as these areas are more prone to moisture buildup. Make sure to scrub every affected spot, including behind showerheads, faucets, and any other crevices where water collects.
- Apply more cleaning solution if necessary: If you find that the mold is particularly stubborn, you may need to apply more cleaning solution and scrub again. You may need to apply extra pressure or use a bit more cleaning solution to remove deep stains.
- Be thorough: Take your time during this step. Mold can hide in hard-to-reach spots, and scrubbing too quickly may leave some mold behind. Ensure that every area is cleaned properly before moving on to the next step.
Step 5: Rinse and Dry the Area
Once you’ve successfully scrubbed away the mold, the next step is to rinse the surfaces thoroughly to remove any cleaning solution and mold debris.
- Rinse with warm water: Use warm water to rinse away the cleaning solution. This helps ensure that all the residue is removed. Pay close attention to grout lines and corners where cleaning solutions and mold can collect.
- Dry the surfaces: Mold thrives in moist environments, so it’s essential to dry the area thoroughly after cleaning. Use a clean towel to wipe down the walls, tiles, and grout, ensuring that no moisture is left behind. You can also use a fan or open a window to help dry the area faster.
- Ensure proper ventilation: After cleaning, continue to ventilate the bathroom by leaving the fan on or keeping a window open. This will help maintain a dry environment and prevent mold from returning.
How to Prevent Mold in the Shower
Once you’ve cleaned your shower and removed the mold, the next step is to prevent it from coming back. Follow these preventative measures to ensure your shower remains mold-free:
1. Use a Bathroom Fan
An exhaust fan is essential for reducing humidity levels in the bathroom. Turn the fan on during and after your shower to help remove excess moisture. Let it run for 20-30 minutes after your shower to ensure the humidity levels return to normal.
2. Increase Ventilation
If your bathroom lacks an exhaust fan, open a window or leave the bathroom door ajar to promote airflow. This will help prevent moisture buildup and reduce the chances of mold growth.
3. Wipe Down Shower Surfaces
After each shower, take a few minutes to wipe down the tiles, glass, and walls with a towel or squeegee. This simple step removes excess moisture and helps prevent mold growth in the long run.
4. Clean Regularly
Spray your shower with a mixture of water and vinegar once a week to kill any early signs of mold. Make it a routine to clean grout and tiles every two weeks to prevent mold from taking hold.
5. Fix Leaks
Small leaks from faucets or pipes can create areas of moisture, which mold thrives on. Check your plumbing regularly and fix any leaks promptly. Even a small drip can create the perfect environment for mold to grow.
6. Replace Damaged Materials
If you notice any cracked tiles or damaged caulking, replace them immediately. Damaged materials provide mold with a perfect breeding ground. Whenever possible, use mold-resistant grout and caulking to further protect your bathroom.
When to Call a Professional for Mold Removal
While most cases of mold growth in the shower can be handled by homeowners, there are situations where calling a professional is the best option. Consider professional mold removal if:
- The mold growth is extensive: Large areas of mold or mold that has spread throughout your bathroom may require professional remediation.
- Health concerns: If you or anyone in your household has respiratory issues, allergies, or a weakened immune system, professional mold removal is the safest option.
- Structural damage: Mold that affects the structure of your bathroom (e.g., inside walls, beneath flooring) needs professional attention.
A professional mold remediation service can provide thorough cleaning and treatment to ensure the mold doesn’t return, addressing both the surface mold and any underlying issues.
Conclusion
Black mold in the shower is a common problem that can be dealt with effectively if addressed promptly. By following the right steps to clean the mold and implementing preventative measures, you can keep your shower and bathroom mold-free and maintain a healthier living environment. Regular cleaning, proper ventilation, and fixing leaks are all key components of keeping your shower in top condition.
Remember, mold removal can sometimes be a bigger task than expected, especially if the mold has spread or caused significant damage. If you’re unsure or the issue persists, don’t hesitate to call a professional to ensure a thorough and safe removal process.
By staying vigilant and practicing good maintenance, you can prevent mold from returning and enjoy a clean, healthy bathroom for years to come.