Disclaimer: Life Cover Guide. This site provides family & home content for informational purposes only.
What Is Black Mold?
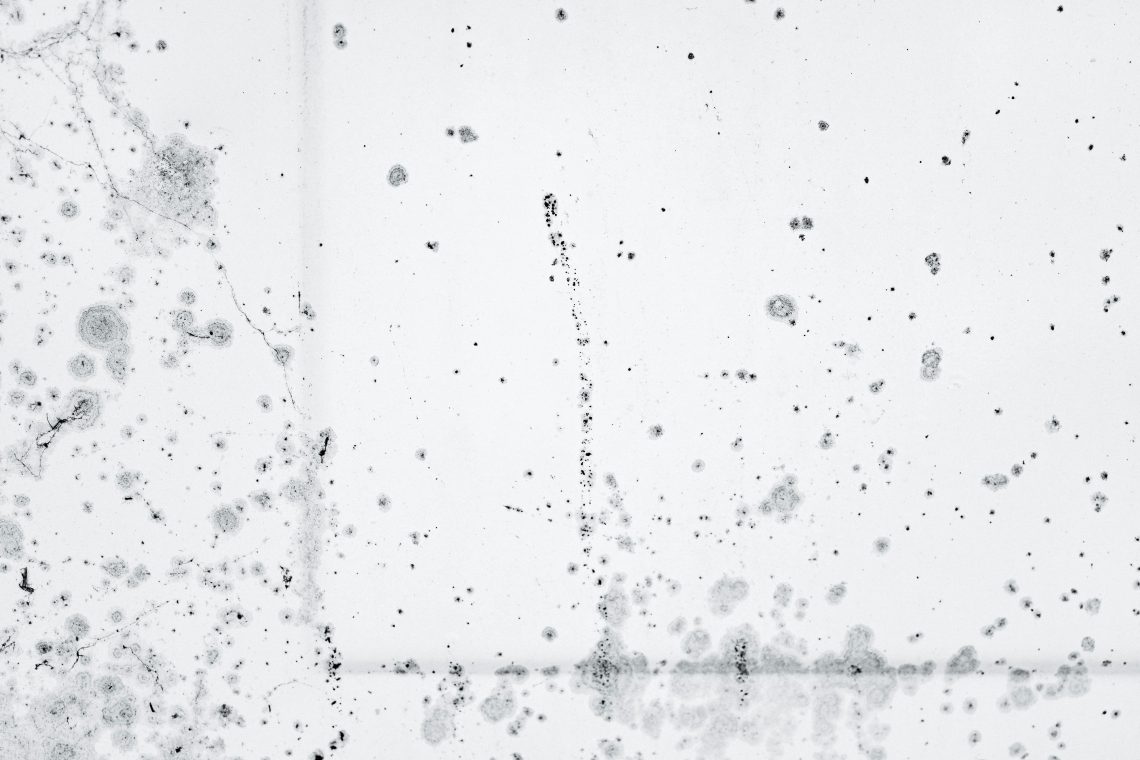
Black mold is a type of fungus that thrives in moist, warm environments. Scientifically known as Stachybotrys chartarum, black mold appears as dark green or black patches and often has a strong, musty odor. Bathrooms, especially showers, are ideal places for black mold to grow because they are frequently wet and poorly ventilated. Mold can grow on grout lines, tile surfaces, silicone caulk, ceilings, and even inside shower walls if there’s a hidden leak.
Mold reproduces by releasing tiny spores into the air, which can travel and grow on other moist surfaces. It only takes 24 to 48 hours for mold to start developing when conditions are right. Once it spreads, it can become difficult to remove without proper cleaning techniques.
Is Black Mold in the Shower Dangerous?
The short answer is yes—black mold in your shower can be dangerous, particularly if it’s left untreated. While the term “black mold” often refers to Stachybotrys chartarum, which is known for producing toxic spores, not every type of black-colored mold is toxic. However, regardless of the specific type, mold in your shower can still cause a range of health and safety concerns.
Health Risks of Black Mold
Mold spores are tiny and lightweight, making them easy to inhale when disturbed. In enclosed areas like bathrooms, where ventilation is often limited, these spores can build up in the air and enter your respiratory system. This is especially concerning for:
- People with allergies or asthma: Mold can worsen symptoms such as wheezing, chest tightness, and shortness of breath.
- Children and elderly individuals: Their immune systems may not be strong enough to fight off mold-related illnesses.
- Those with weakened immune systems: People undergoing treatments like chemotherapy, or those with chronic conditions, are at higher risk of serious infections from mold exposure.
Some common symptoms of mold exposure include:
- Persistent coughing or wheezing
- Sneezing and nasal congestion
- Watery or itchy eyes
- Skin rashes, redness, or irritation
- Frequent headaches
- Unexplained fatigue or dizziness
Even if you don’t immediately notice symptoms, long-term exposure to mold can affect your indoor air quality and lead to respiratory problems over time. The effects may be mild at first but can become more severe with ongoing exposure, especially if the mold growth is not addressed.
Why Does Black Mold Grow in Showers?
Understanding why black mold grows in showers is the first step to stopping it. Mold needs moisture, warmth, and a food source to thrive. Showers often provide all three.
Here are the most common reasons mold grows in showers:
- High humidity: Steam from hot showers creates a humid environment, perfect for mold.
- Poor ventilation: Without proper airflow, moisture lingers and allows mold to grow.
- Soap scum and body oils: Mold feeds on organic material found in soap and oils.
- Cracked tiles or leaky plumbing: Water gets trapped behind walls, creating hidden mold pockets.
- Infrequent cleaning: Mold can quickly grow on neglected surfaces.
Grout and caulking are especially vulnerable because they are porous and can trap moisture. Areas that stay wet the longest—like the corners of the tub or around faucets—tend to grow mold first.
How to Remove Black Mold in the Shower

Removing black mold isn’t always easy, but with the right tools and safety precautions, you can handle small infestations yourself. Here’s a step-by-step breakdown to help you safely and effectively remove black mold from your shower:
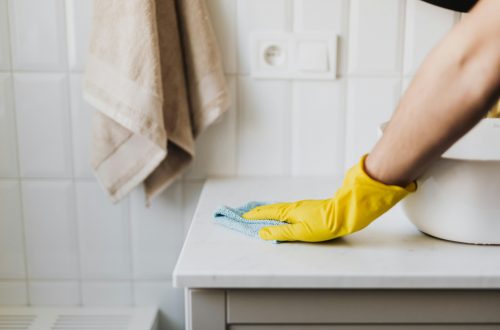
Step 1: Wear Protective Gear
Mold can irritate your skin and lungs, so make sure you protect yourself. Even if you’re only cleaning a small area, it’s important to take safety seriously.
Here’s what you need:
- Rubber gloves: To protect your hands from mold and cleaning products
- Safety goggles: To shield your eyes from airborne mold spores and splashes
- N95 mask or respirator: To avoid breathing in mold spores while you clean
- Old clothes: Wear something you don’t mind getting dirty or may want to throw away afterward
- Ventilation: Open a window or run an exhaust fan to keep fresh air flowing and reduce the concentration of mold spores in the air
These safety steps are especially important if you have asthma, allergies, or other respiratory issues.
Step 2: Choose the Right Cleaning Solution
You can use store-bought mold removers or DIY options. The key is to use something that kills mold at its roots, not just covers it up.
Here are a few effective choices:
- White vinegar: Vinegar kills about 80% of mold species. Spray undiluted white vinegar directly onto the affected areas and let it sit. It may smell strong at first, but the odor fades as it dries.
- Hydrogen peroxide (3%): This solution kills mold and also helps to lighten stains. Pour it into a spray bottle and apply it to the moldy surfaces.
- Baking soda: Baking soda is safe and non-toxic. It works well on mild mold issues and helps eliminate odors. You can mix it with water or vinegar to make a paste or spray.
- Bleach: Bleach is strong and effective on non-porous surfaces like tile and glass. However, it should be used with caution. Mix 1 part bleach with 10 parts water. Always rinse well afterward and ensure good ventilation.
⚠️ Important: Never mix bleach with ammonia or vinegar. This can create dangerous, toxic fumes.
Choose the solution that works best for your situation. For light mold, vinegar or baking soda might be enough. For heavier infestations, hydrogen peroxide or bleach may be more effective.
Step 3: Apply and Let Sit
Once you’ve chosen your cleaning solution:
- Spray the moldy surface generously, making sure it’s fully covered.
- Let the cleaner sit on the surface for 10 to 15 minutes. This gives it time to kill the mold.
- For more stubborn mold patches, leave it on for 30 minutes to an hour or reapply after the first round.
This step is essential. If you scrub too soon, the mold might not be fully killed and could grow back quickly.
Step 4: Scrub Thoroughly
Now it’s time to remove the mold physically.
- Use a stiff-bristled brush, old toothbrush, or abrasive sponge to scrub the affected area.
- Focus on mold-prone spots like grout lines, corners, and caulking.
- For silicone or caulking that’s stained or peeling, you may need to remove and replace it entirely.
Scrubbing helps dislodge mold spores and remove dark stains from surfaces. If your cleaner starts to dry while scrubbing, spray more solution as needed to keep the area wet.
Step 5: Rinse and Dry
Once you’ve finished scrubbing:
- Rinse the area with warm water to wash away any leftover cleaner and mold debris.
- Dry thoroughly with a clean towel, sponge, or paper towels.
- Use a fan or open window to help dry out the area faster.
Mold thrives in moist environments, so drying the space completely is a crucial final step. Leaving it damp could invite mold to return.
💡 Tip: Repeat the entire process if the mold isn’t fully gone after the first attempt. Some stains may take multiple cleanings to fade completely.
Mold Removal Tips by Surface
Tile and Grout
- Use a baking soda paste or vinegar spray.
- Scrub with a brush and rinse well.
- Seal grout lines after cleaning to prevent future mold.
Caulking
- Mold often grows deep into caulk.
- If stains remain after cleaning, remove the old caulk.
- Apply mold-resistant caulk as a replacement.
Shower Curtain
- Wash in hot water with vinegar and baking soda.
- Dry completely before rehanging.
- Choose a mold-resistant liner.
Ceiling
- Use gentle cleaners to avoid damage.
- Apply vinegar or peroxide with a sponge.
- Ensure the ceiling dries completely afterward.
How to Prevent Black Mold in the Shower
Once you’ve cleaned and removed the black mold in your shower, the next step is just as important—keeping it from coming back. Mold loves warm, damp places, so showers are the perfect environment for it to grow. But with a few simple habits and regular maintenance, you can stop mold before it starts.
Here are some easy and effective ways to prevent black mold in your shower:
1. Use a Bathroom Fan
Your exhaust fan is one of the best tools you have to fight mold. It helps pull moisture out of the air after you shower.
- Turn the fan on before you start your shower and leave it running for at least 20 to 30 minutes afterward.
- This helps remove steam and reduces the humidity that mold needs to grow.
If your bathroom doesn’t have an exhaust fan, consider having one installed. It can make a big difference in keeping the room dry.
2. Keep the Bathroom Ventilated
Good airflow is key to keeping your bathroom dry and mold-free.
- Open a window after you shower if you have one.
- Leave the bathroom door slightly open to let steam escape and dry air come in.
- If possible, use a small portable fan to improve ventilation.
Fresh air helps dry out wet surfaces faster, which means less time for mold to take hold.
3. Wipe Down Surfaces
After every shower, take a minute or two to dry the walls, doors, and tub or floor.
- Use a squeegee, microfiber cloth, or towel to wipe down the tiles, glass doors, and any flat surfaces.
- Focus on corners, grout lines, and caulk—these areas tend to stay wet the longest.
Even though it seems like a small step, wiping down surfaces can drastically cut down on moisture and mold growth.
4. Wash Towels and Rugs Often
Damp towels, washcloths, and bath mats can hold moisture and add to the humidity in your bathroom.
- Hang towels up after use so they can dry properly.
- Wash towels, rugs, and mats at least once a week in hot water.
- Make sure they’re completely dry before putting them back in the bathroom.
Avoid leaving wet items in a pile or on the floor where mold can grow unseen.
5. Clean Regularly
Regular cleaning is one of the most effective ways to stop mold before it becomes a big problem.
- Spray your shower walls and floor with white vinegar once a week. Vinegar is a natural mold killer and helps prevent new spores from growing.
- Clean your shower thoroughly, including grout and corners, at least every two weeks.
- Use a scrub brush or old toothbrush to get into tight spots.
Don’t forget to check around shampoo bottles and soap trays—these spots often trap water and get overlooked.
6. Fix Leaks
Leaks are a major source of hidden mold problems. Even small drips can cause mold to grow behind walls or under flooring.
- Inspect your faucets, showerhead, and pipes for leaks.
- If you notice damp spots, musty smells, or water stains, find the source and fix it quickly.
- Also check around your toilet, under the sink, and behind your washing machine if it’s nearby.
Promptly fixing leaks not only helps prevent mold but can also save you from more expensive water damage down the road.
7. Replace Damaged Materials
Cracked tiles, old grout, or peeling caulk can let water seep behind your walls—exactly where mold loves to hide.
- If your grout is cracked or stained, clean it and re-grout as needed.
- For damaged caulk, remove the old material and apply new, mold-resistant caulk.
- Use mold-resistant paint or drywall if you’re doing any renovations in the bathroom.
Keeping materials in good shape not only prevents mold but also keeps your bathroom looking fresh and clean.
When to Call a Professional
You can clean small mold patches yourself, but some situations call for professional help. Call a mold remediation expert if:
- The mold keeps coming back after cleaning
- The mold covers more than 10 square feet
- There’s a strong musty smell you can’t locate
- Mold is growing behind walls, ceilings, or under flooring
- Anyone in the home has health issues from mold
Professionals have the tools to inspect for hidden mold, treat surfaces with commercial-grade solutions, and safely remove contaminated materials.
Final Thoughts
Black mold in the shower is a common issue, but it doesn’t have to be a permanent one. With a little effort and regular maintenance, you can keep your shower clean, safe, and mold-free. The key is acting fast—clean up mold as soon as you see it, take steps to reduce moisture, and stick to a regular cleaning schedule.
A mold-free shower isn’t just about cleanliness. It also protects your health and adds to your home’s overall value. So grab your gloves and scrub brush—a fresher, healthier bathroom is just a few steps away.